Learn simple tips on how to build a DIY lumber rack.
A DIY lumber rack is an essential addition to any workshop or garage. Building a rack will help you keep your lumber organized and off the floor. A well-constructed lumber rack maximizes the space in your workshop, and it’s also a great way to keep your lumber in excellent condition. Adding a lumber rack to your work area is always a great option for custom home building as well.
Here are a few steps to follow for building a DIY lumber rack:
1) Choose the Type of Wood
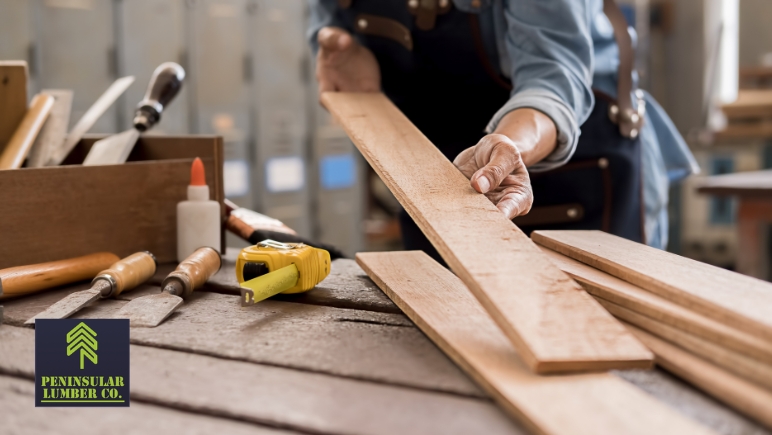
The first step in building a DIY lumber rack is selecting the appropriate type of wood. Pressure-treated lumber is an excellent choice for this project, as it resists decay, moisture, and insects. Visit a lumber company to find pressure-treated wood that meets your project’s requirements. You can also consult with custom home builders or staff members at the lumber yard for more advice on selecting the right wood.
2) Determine Your Lumber Storage Needs
Before you start building your lumber rack, assess your lumber storage needs. Consider the types and sizes of lumber you frequently use in your projects, whether it’s sheets of plywood or other building materials. This will help you design a DIY lumber rack that can accommodate your lumber collection and future purchases.
3) Design Your DIY Lumber Rack
Sketch out a plan or use design software to create a blueprint for your lumber rack. Your design should include vertical supports, horizontal shelves, and diagonal bracing for added stability. Be sure to account for the weight of your lumber while designing your rack, as this will impact the strength and stability of the structure.
4) Gather Materials and Tools
The next step is to gather all of the materials and tools needed to construct your lumber rack. You’ll need sheets of plywood for the shelves, wood screws, and a power drill. You will also need a circular saw, a level, a measuring tape, and a pencil. If you don’t already have these tools, you can buy them from a local hardware store or lumber company.
5) Cut and Assemble the Lumber Rack
Begin by cutting your pressure-treated lumber and sheets of plywood to the appropriate dimensions as specified in your design. Always be sure to measure twice for accuracy. The next step is to assemble the vertical supports and horizontal shelves by using wood screws and a power drill. Be sure to use a level when attaching the shelves to ensure they are straight.
6) Install Diagonal Bracing
Installing diagonal bracing on the vertical supports is important to strengthen your lumber rack. Cut additional pieces of pressure-treated lumber at 45-degree angles and attach them between the vertical supports and horizontal shelves using wood screws. Diagonal bracing helps distribute the weight of your lumber evenly and prevents the rack from collapsing.
7) Secure Your Lumber Rack to the Wall
The final step is to secure your DIY lumber rack to the wall by using heavy-duty brackets or anchors. This will provide additional support and stability to ensure your rack stays in place even when fully loaded with lumber. Check with your local building codes to make sure the wall can easily support the extra weight of the rack and the lumber it will hold.
Why a Lumber Rack is a Great Choice for Workshops
A lumber rack is an invaluable addition to any workshop. You can create a durable lumber storage system that will look and work great for many years by following these steps. A well-organized lumber rack will not only save space in your workshop but also make it easier to locate and access the lumber you need for your woodworking projects.
Check Out Peninsular Lumber for Your Next Lumber Project
Peninsular Lumber can help you find the lumber you need for your next DIY project. Our company has more than 75 years of experience serving customers throughout the Tampa Bay area. We can answer all of your questions about building materials, and we will help you find the best products to meet your needs.
Feel free to visit Peninsular Lumber in Tampa Bay today!