Are you ready to build a wood fence? Here are a few tips.
If you’re looking for a way to improve the look of your front garden or backyard, a wood fence is a perfect choice. Understanding how to build a wood fence can add value to your property, since it can be customized in any way you like and serve as a practical barrier. Building a wood fence can be a rewarding experience, but it can also be time-consuming and sometimes frustrating.
The steps below should help you through the process.
Preparation for how to build a wood fence
After selecting your fence style, you’ll need to create a plan. Ensure all the components you need are included, such as posts, rails, and panels. It would help if you also considered what you would like your fence to look like inside. Below are steps to build a wood fence after preparing the frame.
Decide on the height and length of your fence and buy all of the necessary materials. You will need posts, rails, panels, and fasteners. Assemble the posts and rails on the ground to ensure they are the correct height and length you want. Create a square with your assembled posts and rails, so you have a guide for your holes.
Stake the corner locations and nail the rails directly onto the panels. Attach your fasteners in the same manner, and now you’re ready to attach your fence to your posts. When connecting your fence to the posts, use concrete anchors, and test-fit each joint before moving on.
Squaring the corners is the last and essential step; use your 2-4-6 rule and measure diagonally from opposite corners. If it measures equal, you have a perfect 90-degree corner with the posts at an equal distance from each other. If one side is longer, shorten that post by cutting it to size while in place. dd additional lengths of wood if both sides are longer, attach them, and then attach them to each post.
1. Check on any local restrictions
If you’re looking for instructions on how to build a wood fence in your yard without the interference of authorities, check with your local planning department to find out whether there are any restrictions or limitations on building a wall. Some areas prohibit fences entirely because they don’t provide enough space for people to pass through. If you’re building your fence in the front garden, check with the city’s planning department to see what regulations are in place and if there will be any charges associated with your fence.
2. Digging Holes and Setting Fence Posts
The first step in building a wood fence is digging holes for the fence posts. This can be time-consuming, especially if you’re working with larger trees. You may also have to use an excavator or shovel to dig the holes. You can also set posts in concrete, which will affect the look of your fence somewhat because it will make it look like a wooden fence.
It is recommended to dig the holes or set the posts in concrete depending on the style of wood fence you choose and the type of wood you decide to use. A wood fence can get damaged easily by termites, worms, or animals, and the concrete will protect it from such insect attacks.
3. Measure the spaces between posts and rails
The horizontal distance between posts is called the rail, and the vertical distance between rails is referred to as the stile. Knowing these measurements will be crucial in choosing the right wooden panels for your project and getting better at how to build a wood fence.
You can use spikes, screws, and nails to attach the pickets to the frame. Whatever material you choose, ensure that they are long enough and will fit into their holes without spaces left in between. The wood used for making pickets and rails should be straight and hard.
There’s no point in using soft lumber that won’t support the weight of heavy objects. Also, always ensure that the wood does not warp or split before erecting your fence.
4. Installing the Fence Rails
This stage of your project begins by measuring the length, width, and height of the area where you’d like to build your fence. This will determine the number of fence rails and boards that will be necessary. Marking the rail locations will be required to install the wall properly.
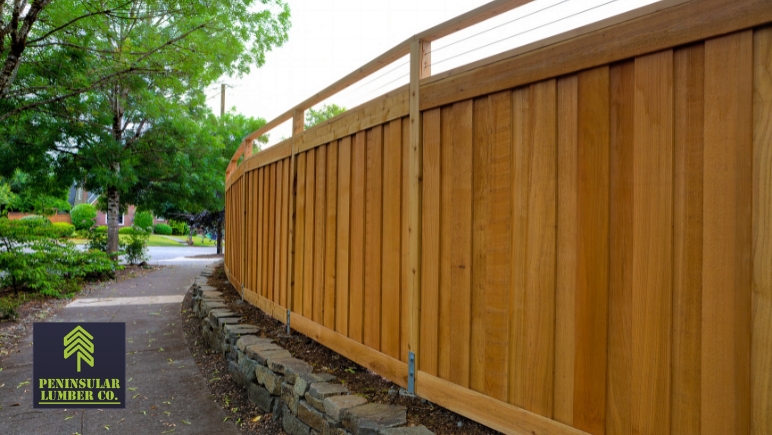
Using a level and a pencil, mark each location where you would like to install two or more rails on the fence. This is an essential part of how to build a wood fence. Doing this will place the rails per your plan and ensure that every rail is in its correct position for the best possible result. Remember that if you have a curved fence line, you may need to measure twice to ensure that all the rails are even.
5. Installing the Fence Pickets
It’s a little difficult to see where you’ll get all the materials, but you will have plenty of options in many types of wood fence pickets, so no matter what kind you decide on, you should be able to find one that works for your specific situation. Ensuring your fence pickets have been properly measured and are the right length will help you avoid getting stuck with imperfect pickets.
Another important step is using top and bottom strings to join the pickets. These two short boards will join two separate sections of pickets together. To learn how to build a wood fence, avoid using nails or staples to attach the fence pickets.
The wood will rot and cause you much more work later on. If you want to beautify your fence, you can use decorative nails made from solid metal to make your pieces look rustic and natural.
Peninsular Lumber has everything you need to build a wood fence
As a top lumber company in Tampa, FL, we provide the best services that meet your expectations for building a wood fence. We understand that to get the perfect fence, you need to consider everything about it to ensure you have done everything in your budget and still have enough money for other things like fence paint and other accessories.
Visit Peninsular Lumber today! Our lumber company has been in business for over 75 years. We have learned everything we need to serve the Tampa Bay area for all lumber needs and solutions. Visit our store today!